Pi-hole Network Ad Blocking
Deploying a network-wide ad blocker using Pi-hole on a Raspberry Pi Zero 2 W
Overview
This project documents the setup of a Pi-hole instance on a Raspberry Pi Zero 2 W to provide network-wide ad blocking.
The goal is to understand how DNS-based filtering works and how such a system can be deployed in a real home network environment.
Introduction
Pi-hole is a DNS sinkhole that blocks advertisements and tracking domains at the network level.
Instead of blocking ads on individual devices, all DNS queries are filtered centrally.
This approach provides:
- Network-wide ad blocking
- Reduced tracking
- Improved performance and bandwidth usage
- Visibility into DNS requests
Objectives
- Deploy Pi-hole on a Raspberry Pi Zero 2 W
- Configure remote access via SSH
- Integrate the device into the local network
- Understand DNS-based filtering in practice
- Prepare for network-wide deployment
Environment
- Raspberry Pi Zero 2 W
- Raspberry Pi OS Lite (64-bit)
- Local home network (router-managed DHCP)
- SSH access via PuTTY
Setup
1. Install Operating System
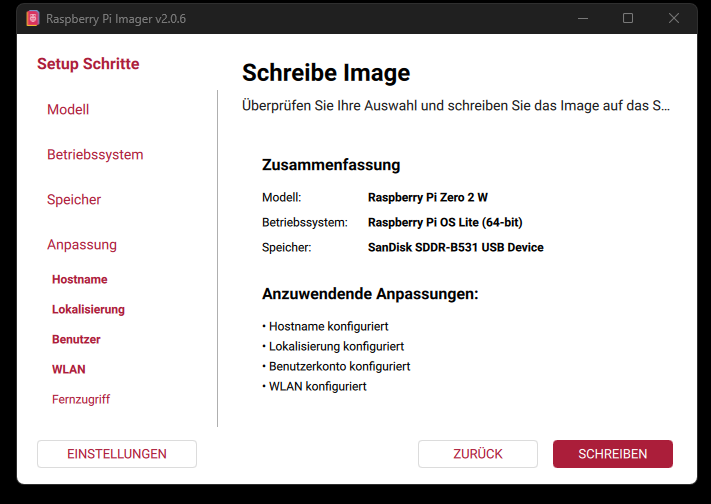
Raspberry Pi OS Lite (64-bit) was installed on the SD card. I’d recommend using the Raspberry Pi Imager, which is simple and straightforward.
During setup:
- Wi-Fi was configured
- SSH was enabled
2. Network Configuration
After connecting the Raspberry Pi to the network, the router configuration was adjusted:
- A static IP address was assigned to the Raspberry Pi
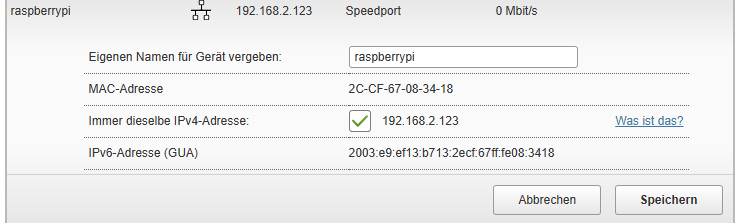
This ensures consistent access to the Pi-hole interface and prevents IP changes after reboot.
3. Initial Access via SSH
The Raspberry Pi was accessed remotely using PuTTY via static ip:
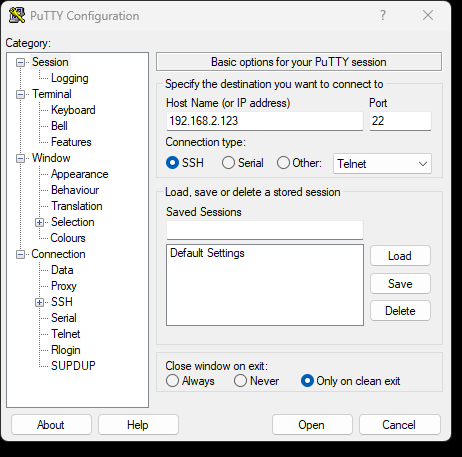
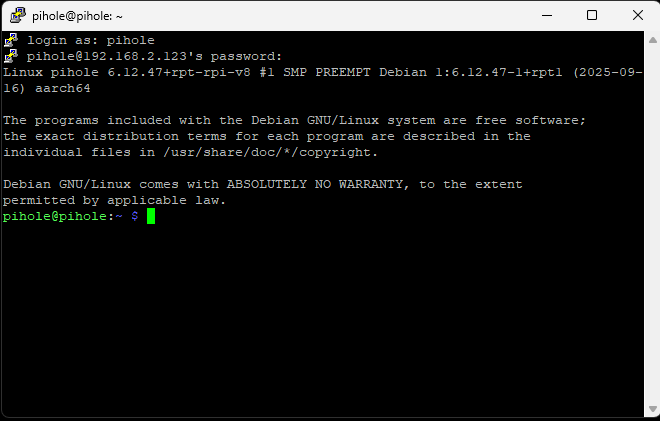
Or use any OS and conect via ssh:
ssh pihole@192.168.2.123This allows full control of the system without requiring a monitor or keyboard.
4. Install Pi-hole
Pi-hole was installed using the official installation script:
curl -sSL https://install.pi-hole.net | bash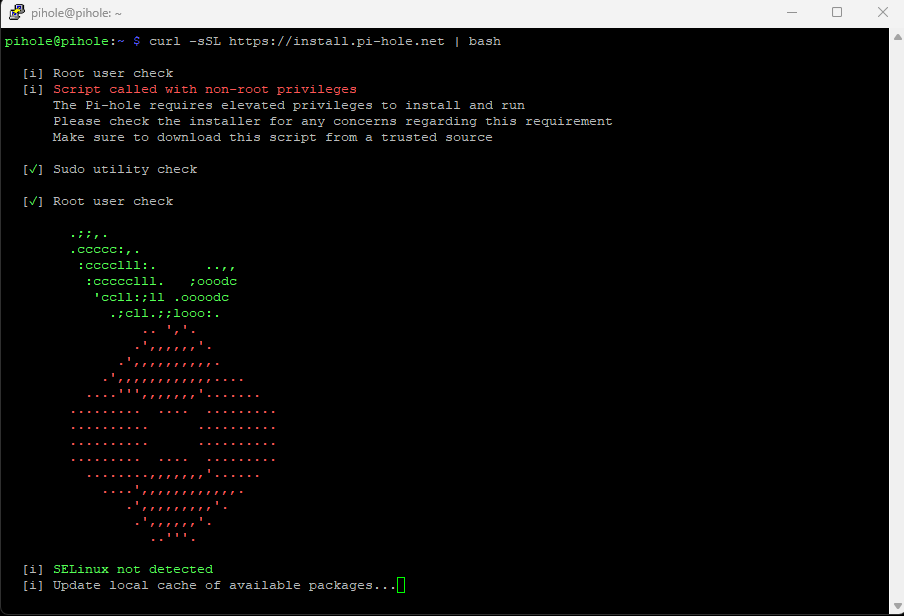
You will be thoroughly guided through the installation process.
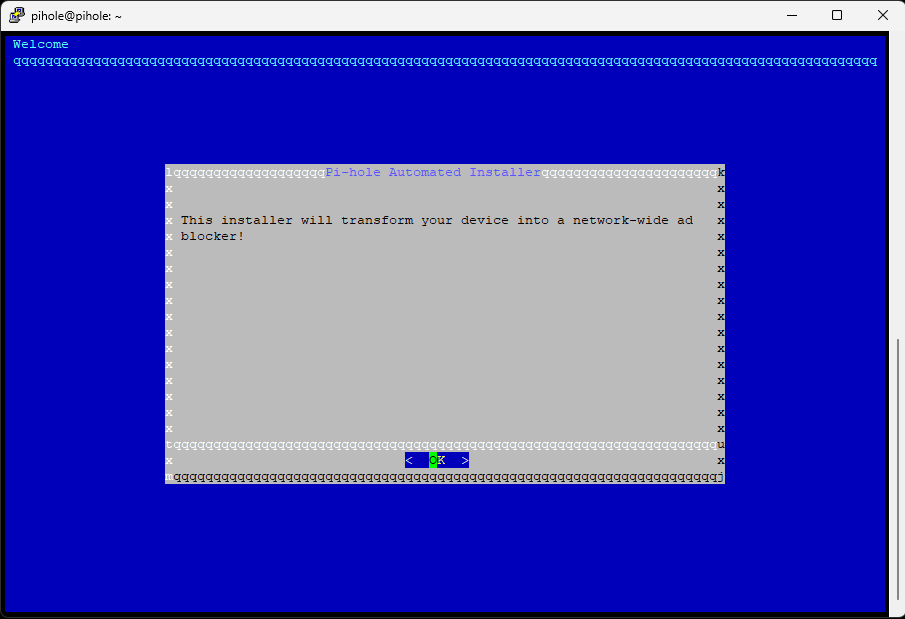
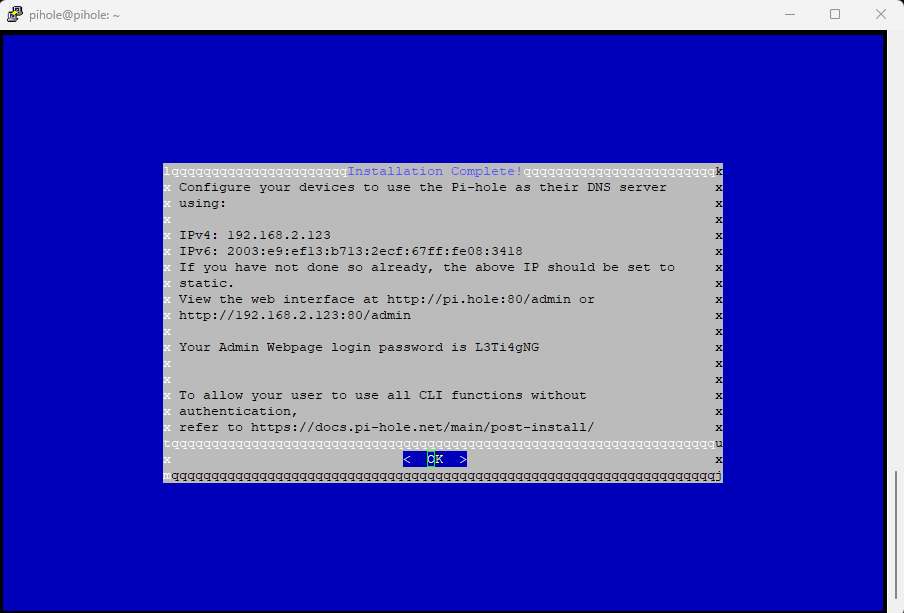
At the end you’ll get your admin login password. I changed it right after finishing the installation to a secure one.
sudo pihole setpasswordAll done for now - close PuTTY here.
During the installation process:
- Default network interface was selected
- DNS provider was chosen
- Web interface was enabled
Check the official Pi-hole documentation here: https://docs.pi-hole.net/main/basic-install/
5. First Login
After the installation I could access the Pi-hole dashboard via browser:
192.168.2.123/admin/login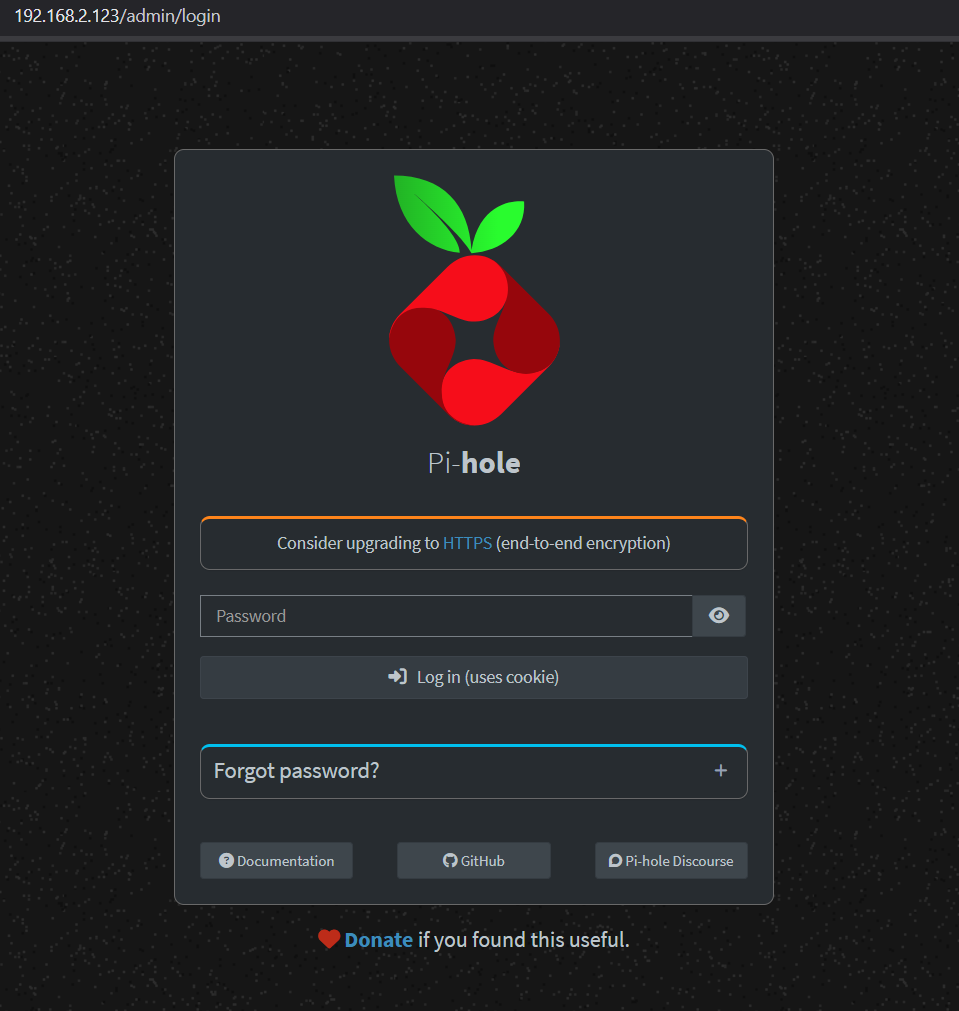
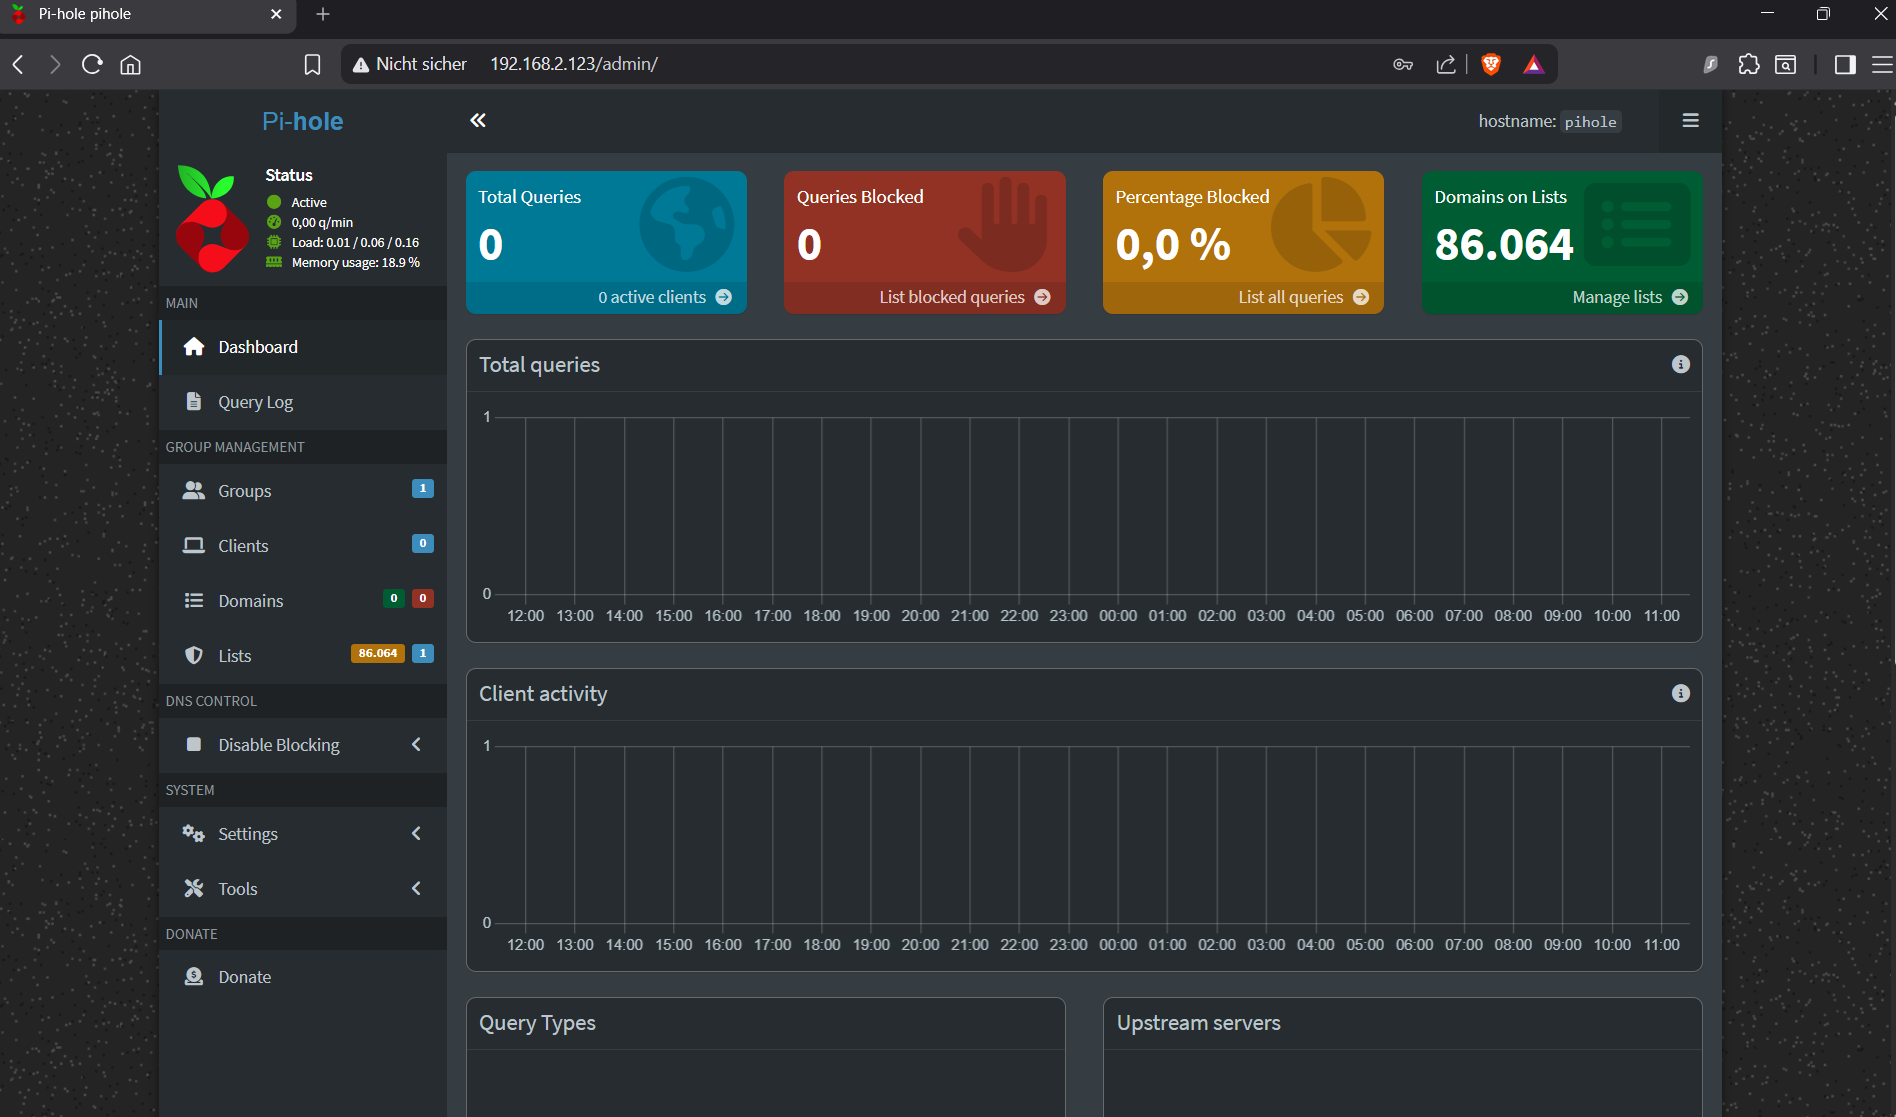
The first login confirmed that the installation was successful.
6. Configure DNS on Router
To integrate your Pi-hole in your network, configure its IP as your primary (and only, except you have a second Pi-hole) DNS server on your router. The configuration might be different on every router!
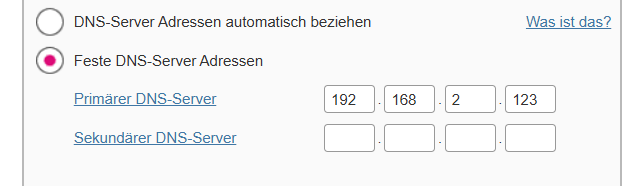
7. Pi-Hole dashboard check
Now check your Pi-hole dashboard if there are queries and also blocked queries - congratulations! It works!

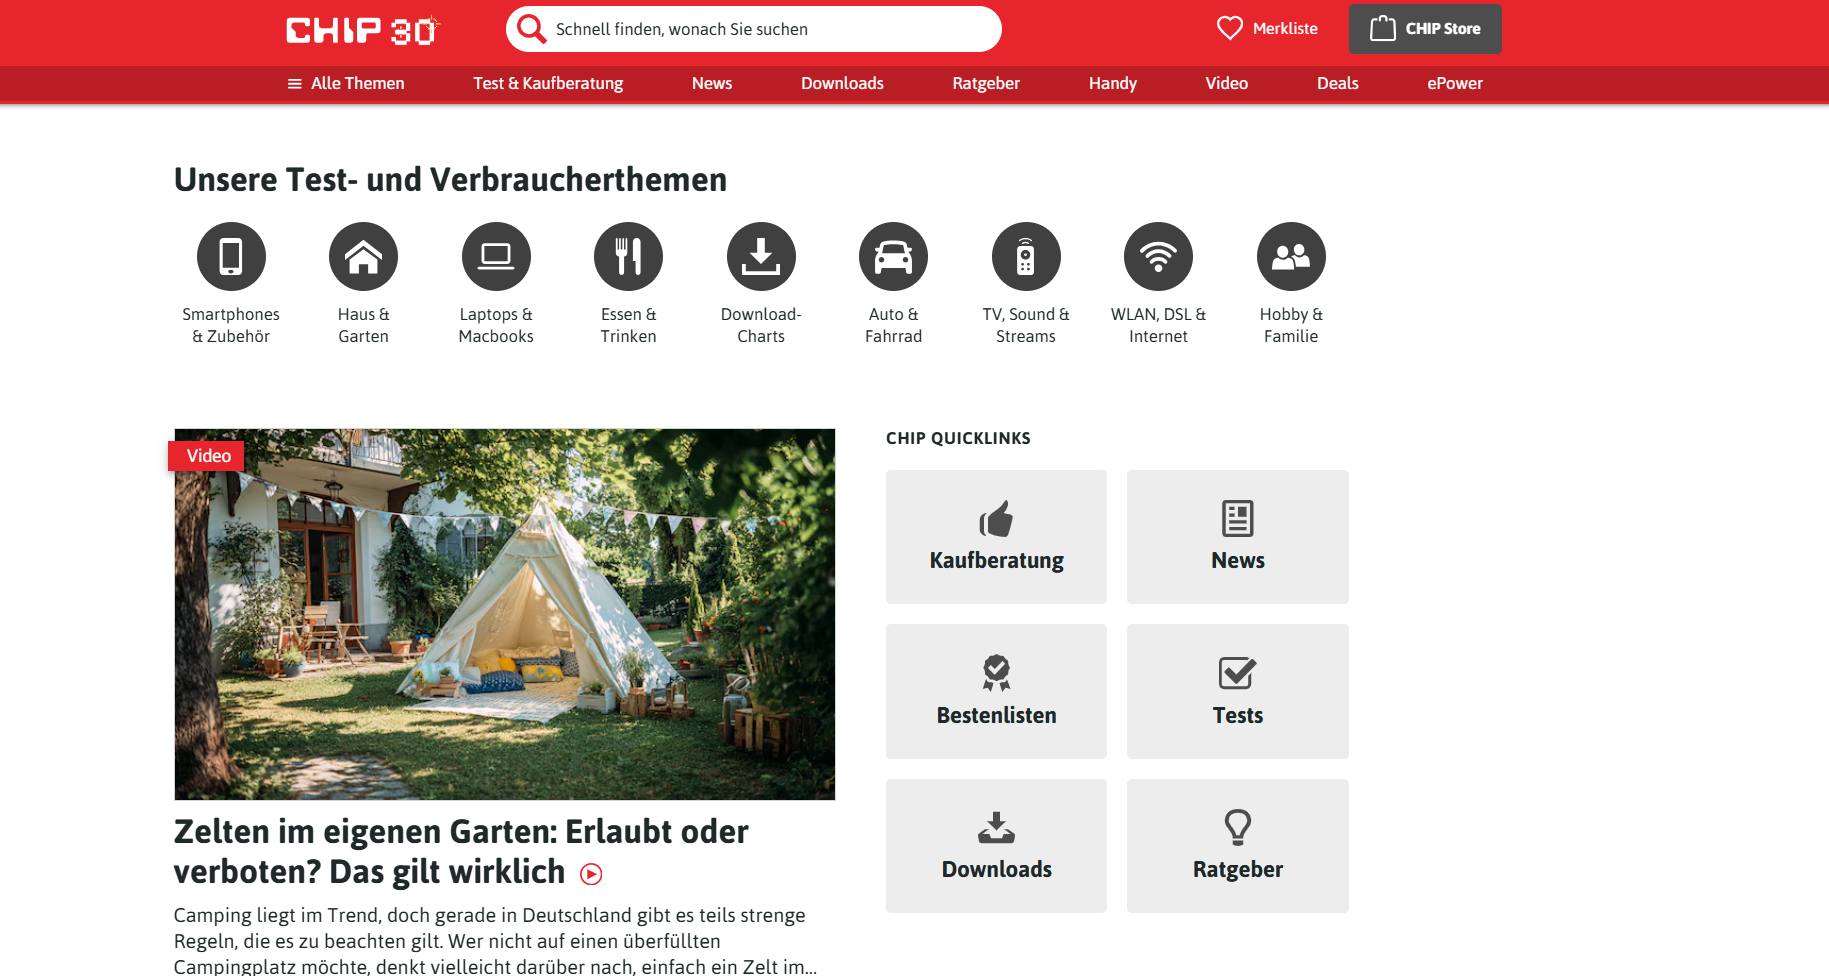
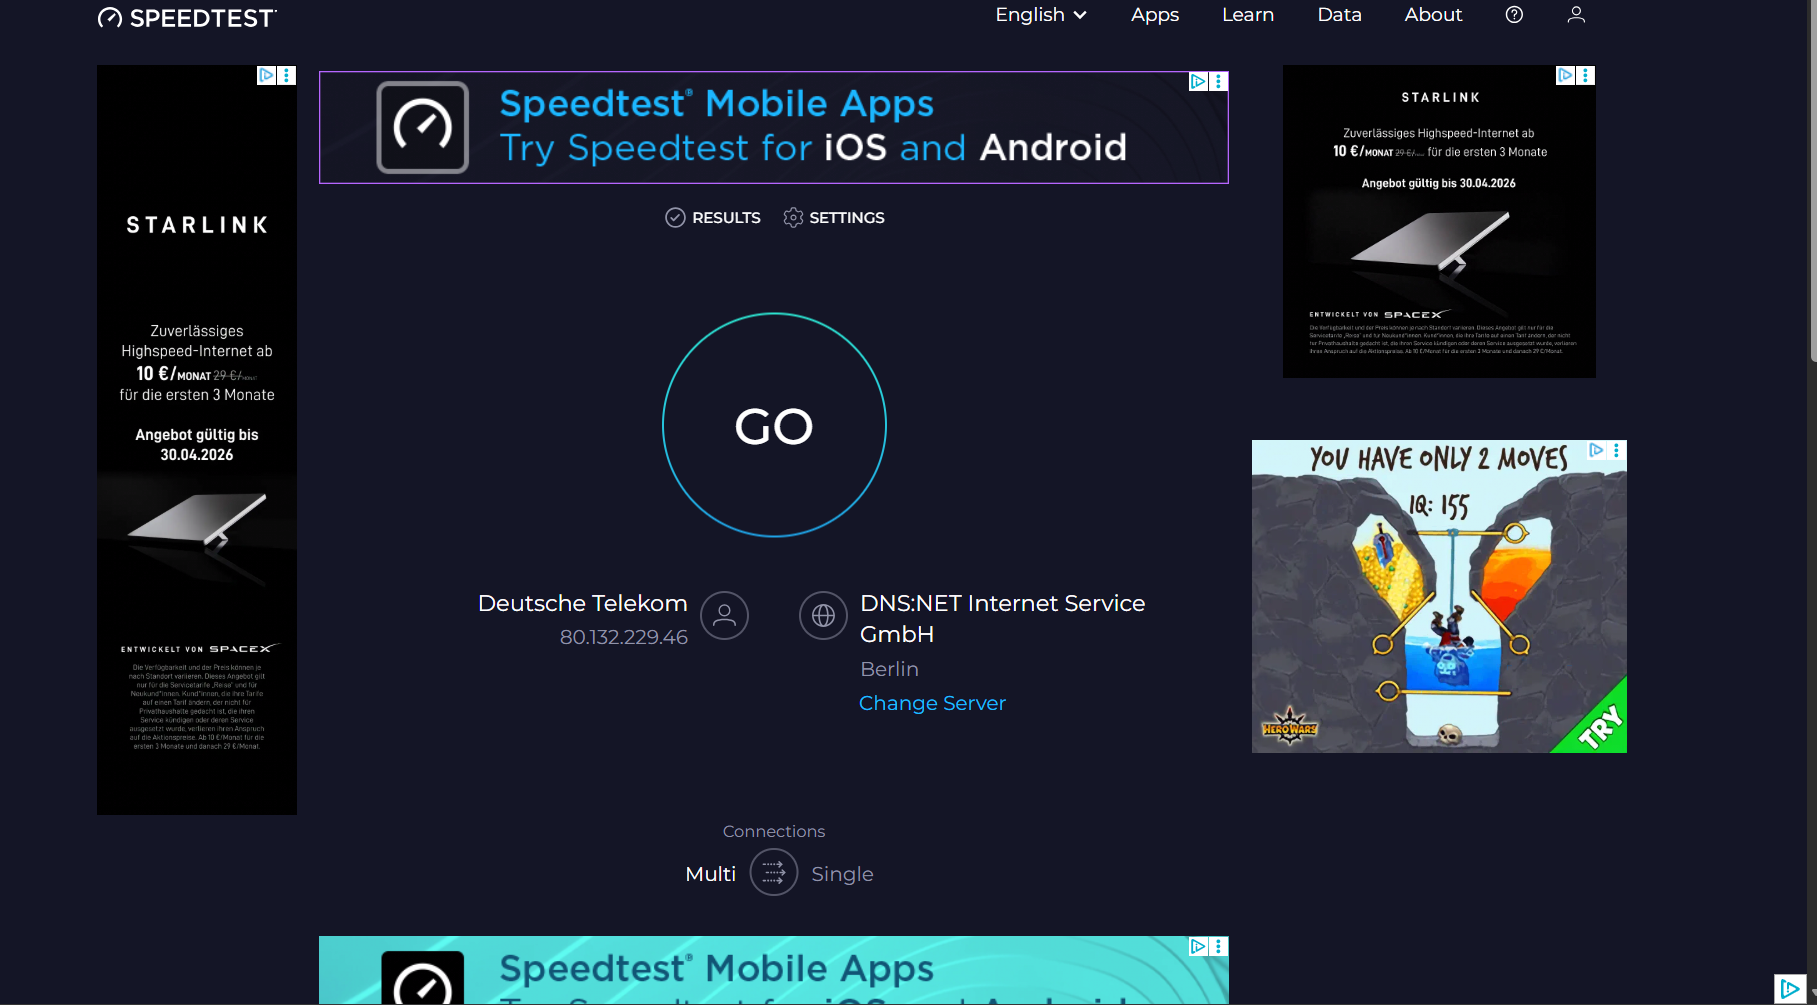
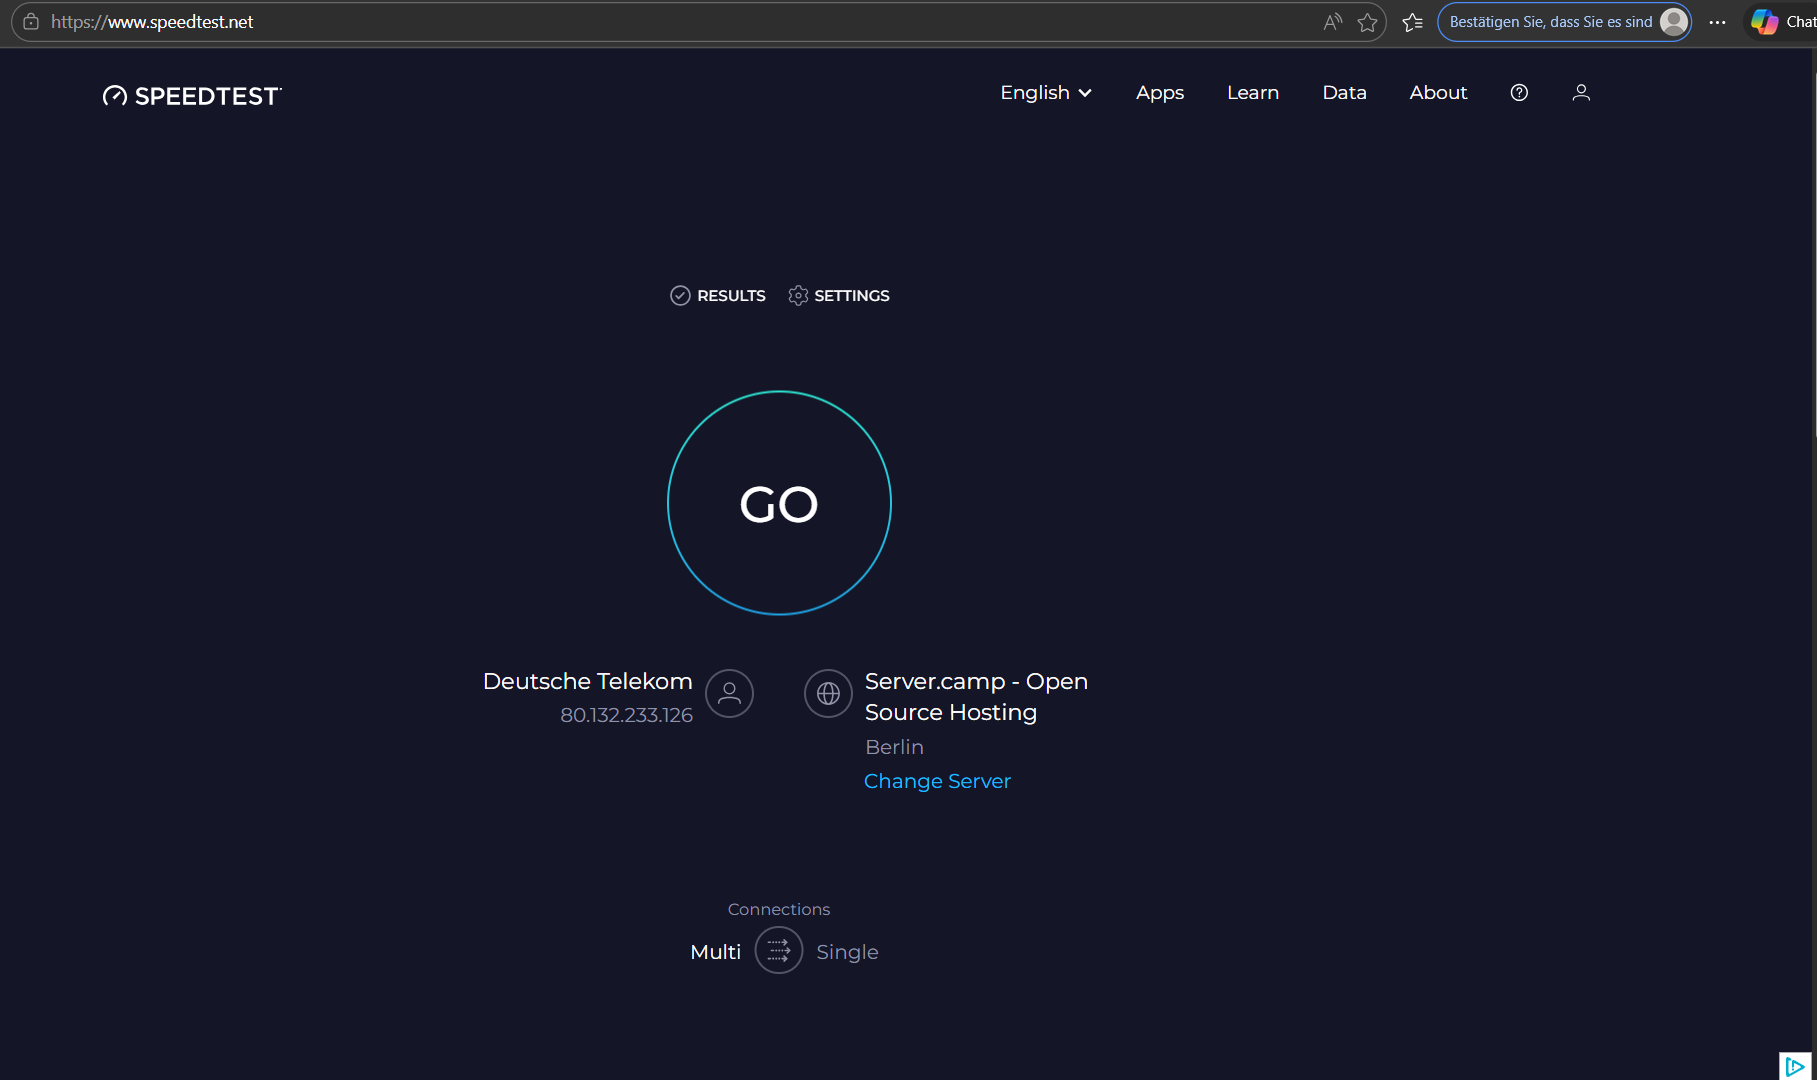
Here are two examples of websites before and after enabling the Pi-hole:

Security Relevance
While Pi-hole is commonly used for ad blocking, it also provides valuable security benefits at the network level.
By filtering DNS requests, it can:
- Block known malicious domains (e.g. malware, phishing, tracking infrastructure)
- Reduce exposure to drive-by downloads and malicious advertising
- Provide visibility into DNS queries across the network
- Help identify unusual or suspicious traffic patterns
From a defensive perspective, Pi-hole can act as a lightweight first layer of protection by preventing communication with known harmful domains.
It also introduces important limitations:
- DNS-based filtering can be bypassed (e.g. DNS over HTTPS)
- It does not inspect encrypted traffic
- Effectiveness depends on the quality of blocklists
This makes Pi-hole a useful supporting control, but not a replacement for dedicated security solutions.